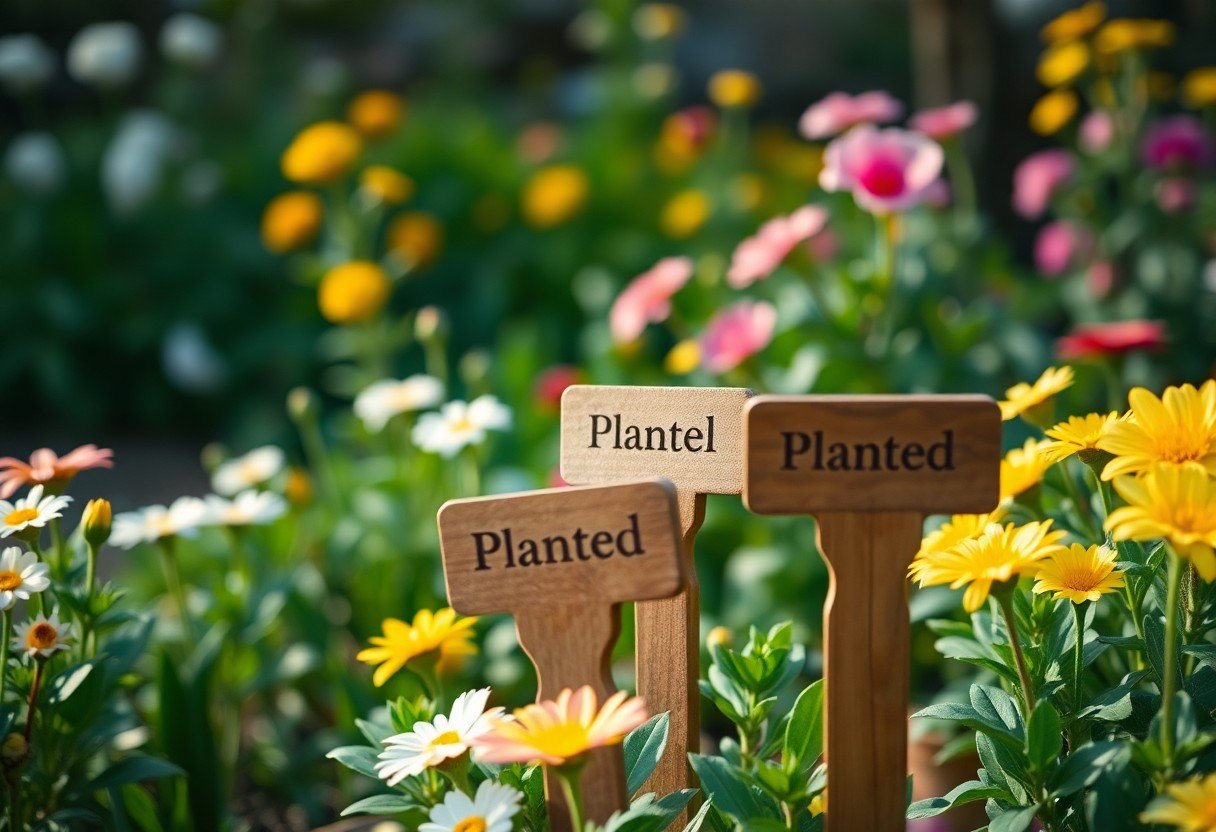
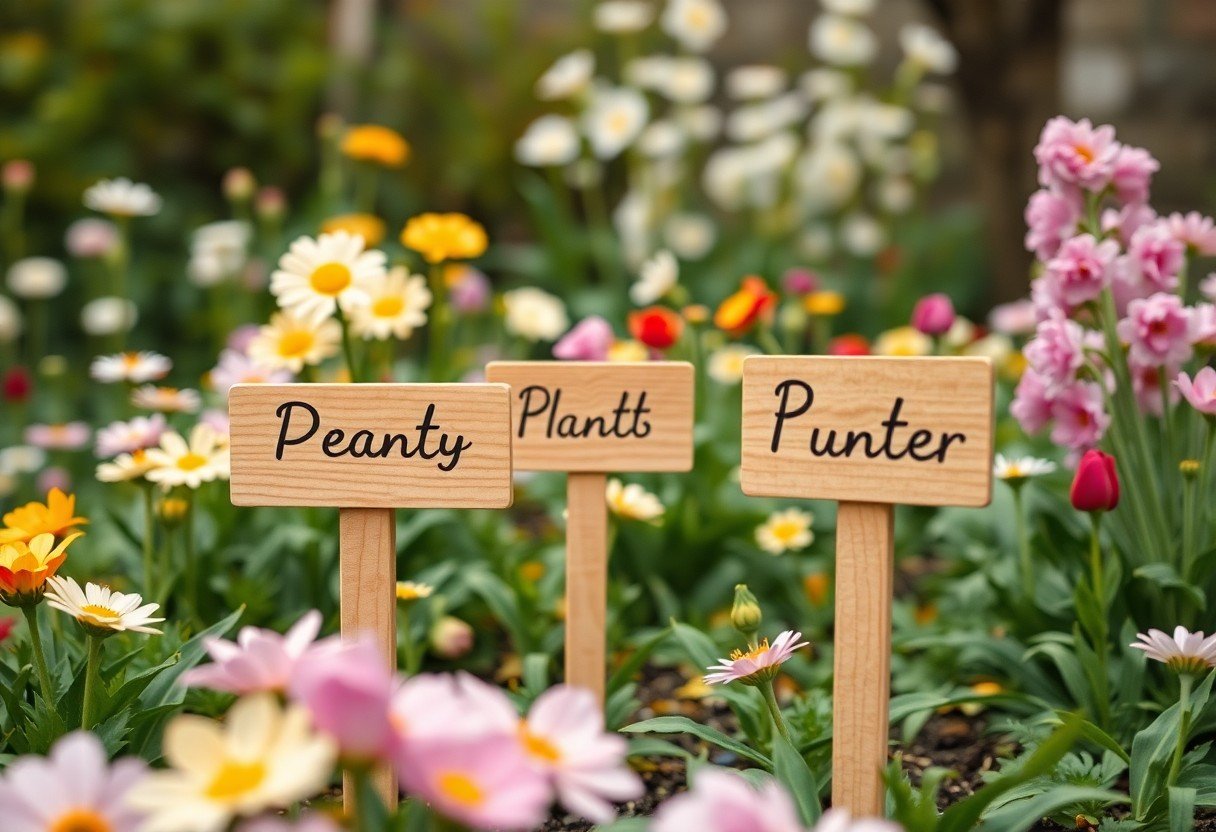
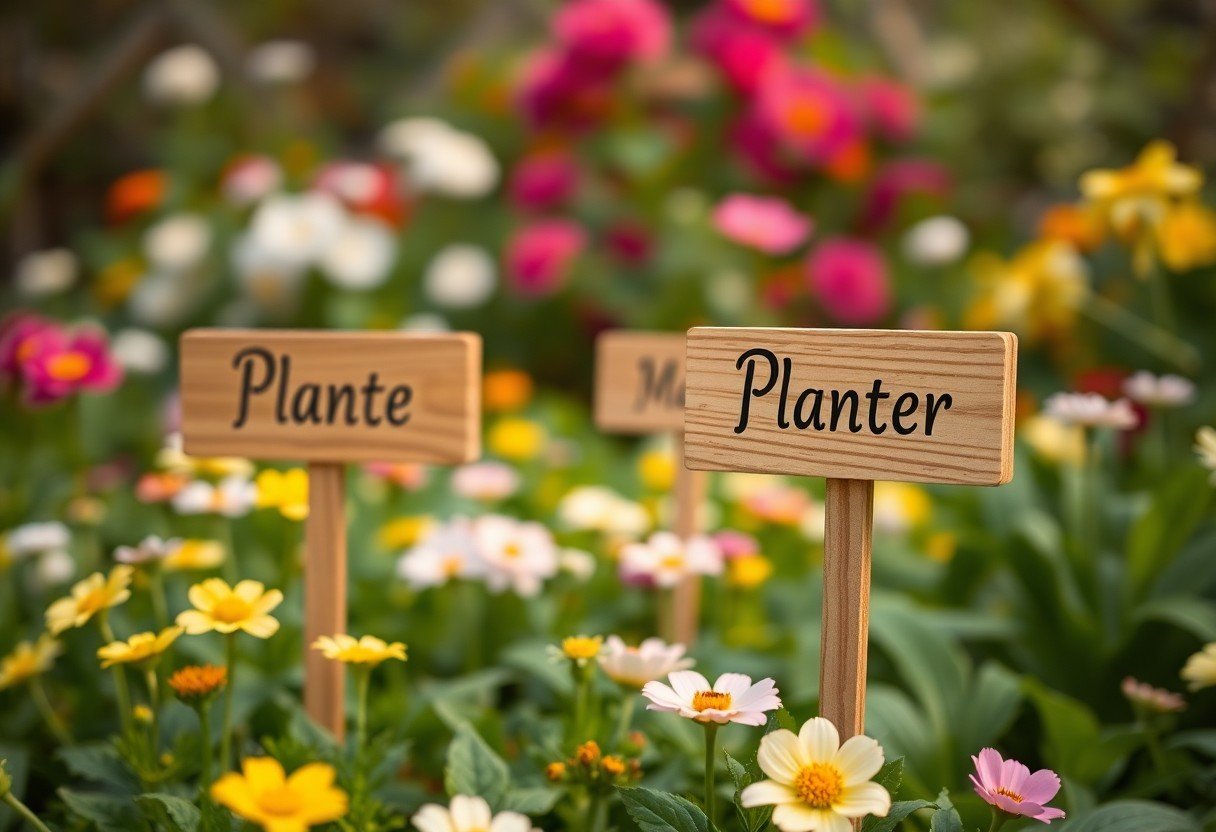
You can easily add a personal touch to your spring garden with handmade wooden plant markers. As you prepare your garden for the new season, you’ll want to keep track of your plants. Making your own markers is a simple and fun project that you can complete with minimal materials. You’ll be able to identify your plants and add a rustic charm to your garden with your custom-made wooden markers.
Planning Your DIY Project
For a successful DIY project, you need to plan carefully, considering your garden’s needs and your personal style. This will help you create wooden plant markers that are both functional and visually appealing.
Understanding the Importance of Plant Markers
The key to a well-organized garden is identification, and plant markers are necessary for this purpose, allowing you to easily identify your plants and keep track of their growth, which will help you take better care of your garden.
Gathering Necessary Materials and Tools
To start your project, you will need to gather materials such as wooden stakes, paint, and a marker, as well as tools like a hammer and a saw, which will enable you to create your DIY plant markers.
Importance of having the right materials and tools cannot be overstated, as it will directly impact the quality of your plant markers, so you should take your time to select the best materials and tools for your project, considering factors such as durability and ease of use, and make sure you have everything you need before starting your project, so you can work efficiently and effectively to create beautiful and functional plant markers for your spring garden.
Designing Your Plant Markers
One of the most exciting parts of making DIY wooden plant markers is designing them. You get to choose the style, shape, and overall look of your markers, allowing you to add a personal touch to your garden.
Choosing the Right Wood Type and Size
A bit like selecting the perfect plant, choosing the right wood type and size for your markers is vital. You will want to select a wood that is durable and can withstand outdoor conditions, such as cedar or pine, and a size that is easy to read and write on.
Tips for Creating Attractive Designs and Labels
Somewhat similarly to designing a garden, creating attractive designs and labels for your plant markers involves considering a few key elements. You can use:
- Paint or stains to add color and texture
- Engraving or burning to create intricate designs
Perceiving the finished product will help you make the necessary adjustments to achieve the look you want.
It is also important to consider the overall aesthetic you want to achieve with your plant markers. You can use:
- Simple, bold fonts for a modern look
- Decorative fonts for a more whimsical feel
Perceiving how your markers will look in your garden will help you make informed decisions about design and labeling.
Preparing the Wood
While preparing your wooden plant markers, you can get inspiration from various online resources, such as 4 Ways to Create DIY Plant Markers to make your project more engaging. You will need to select the type of wood you want to use for your plant markers, considering factors like durability and aesthetic appeal.
Cutting and Sanding the Wooden Pieces
With your wooden material ready, you can proceed to cut it into the desired shape and size for your plant markers. You will need to sand the cut edges to smoothen them out and prepare the surface for further processing.
Applying a Protective Finish for Durability
There’s a need to apply a protective finish to your wooden plant markers to shield them from outdoor elements. You can use a waterproof sealant or a natural oil to achieve this, ensuring your markers withstand various weather conditions.
Finish by applying a thin, even coat of your chosen protective finish, allowing it to dry completely before handling your plant markers. This step will help extend the lifespan of your DIY plant markers, making them a lovely and functional addition to your spring garden. As you handle this process, you will be able to enjoy your beautifully crafted wooden plant markers for a long time.
Adding the Markings
Unlike other plant markers, your DIY wooden plant markers will require some additional steps to make them functional. You can get inspiration from How to Make Natural Wood Plant Markers – TidBits-Cami.com to create your own unique markers.
How to Engrave or Paint Plant Names
Alike other crafts, you will need to carefully consider how to engrave or paint the plant names on your markers. You can use a variety of methods, including wood burning or painting with waterproof paint.
Tips for Applying a Clear Coat for Protection
To protect your markers from the elements, you will need to apply a clear coat. Here are some tips:
- Use a waterproof sealant
- Apply a thin layer
, Knowing this will help you to keep your markers looking their best.
Applying a clear coat to your DIY wooden plant markers is an important step in ensuring they withstand the outdoor elements. You can choose from a variety of clear coats, including varnish or polyurethane. Here are some tips:
- Choose a waterproof clear coat
- Apply a thin layer
, Knowing this will help you to protect your markers and keep them looking great for years to come.
Assembly and Installation
Not much is required to assemble and install your DIY wooden plant markers, as they are designed to be simple and easy to use.
Assembling the Plant Markers
Assuming you have all the necessary materials, you can start assembling your plant markers by attaching the wooden stake to the marker board, making sure it is secure and even.
Installing the Markers in Your Spring Garden
Plant your markers alongside your plants, pushing the stake gently into the soil until it is firmly in place, and adjust as needed to ensure your marker is visible and level.
Markers will help you keep track of the different plants in your garden, allowing you to care for them properly and enjoy the beauty of your spring garden, as you can easily identify each plant and take note of its progress, making adjustments to your care routine as you see fit, in your own garden.
Tips and Considerations
After creating your DIY wooden plant markers, consider a few key factors to ensure their longevity. You should:
- Choose the right type of wood
- Apply a protective finish
Recognizing these factors will help you enjoy your plant markers for a longer period.
Factors to Consider for Weather Resistance
One of the main concerns when creating outdoor plant markers is their ability to withstand various weather conditions. You should:
- Use weather-resistant wood
- Seal the wood properly
Knowing these factors will help you create durable plant markers.
How to Maintain and Replace the Markers
For your plant markers to last, regular maintenance is necessary. You can:
- Check for damage
- Reapply finish as needed
Replace your plant markers as needed to keep your garden looking its best. You can update the markers to reflect changes in your garden, such as new plants or redesigned beds. By replacing your markers, you will be able to maintain a polished and organized look in your garden, making it easier for you to identify your plants and enjoy your outdoor space.
Conclusion
Drawing together the steps outlined, you can create beautiful DIY wooden plant markers for your spring garden. You will enhance your garden’s appearance and keep track of your plants with ease. For a more personalized touch, consider exploring DIY Wood Burned Plant Markers – Sweet Pea techniques to add unique designs to your markers, making your garden truly special and showcasing your craftsmanship.


